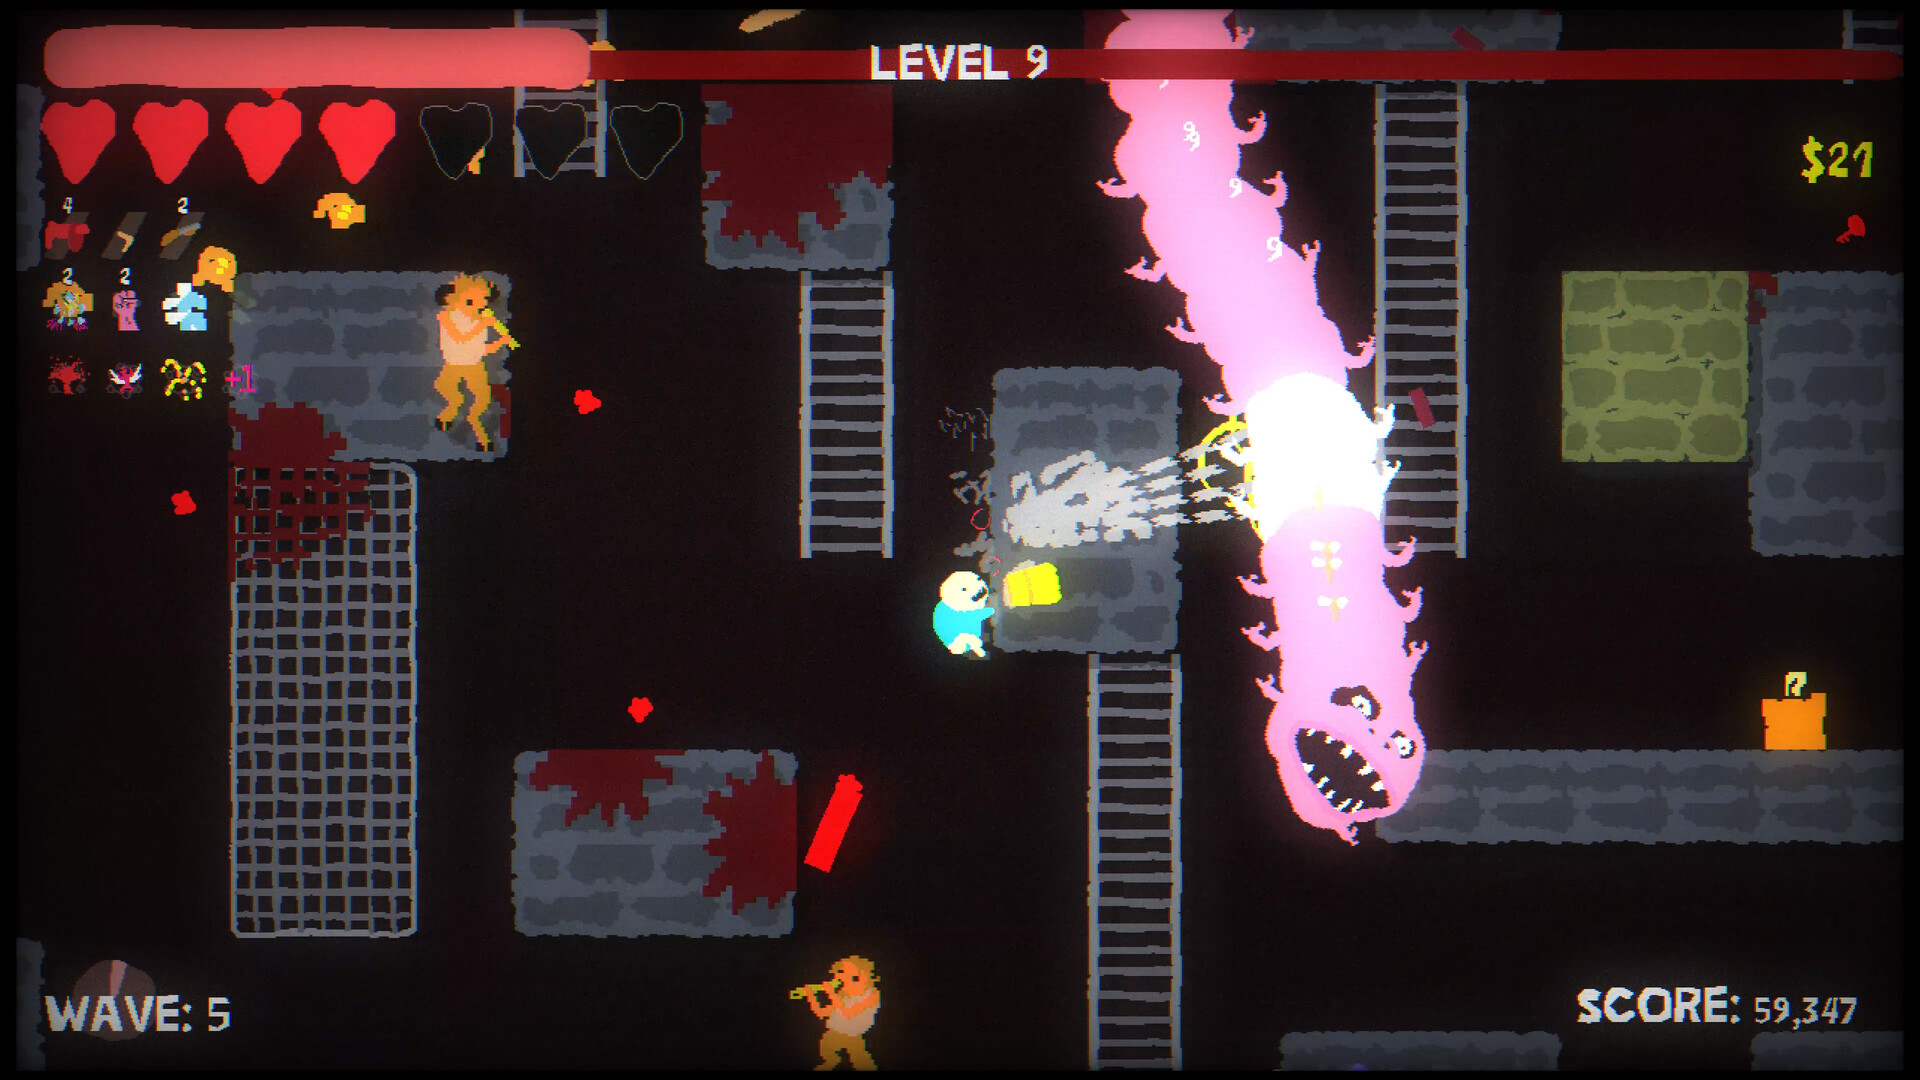
Weapons & Builds
Auto-shooter weapons, charm upgrades and item combos. Build the ultimate loadout for endless survival and high scores.
Weapon System Explained
Every character has a base auto-weapon that fires automatically at the nearest enemy. During a run, between waves, you choose upgrades that modify your weapon or add new effects. Upgrades come in several categories:
| Upgrade Type | Effect | Example |
|---|---|---|
| Stat Boost | Increases damage, fire rate, projectile speed, etc. | Damage +15%, Fire Rate +10% |
| Charm | Adds a special effect to your attacks | Fireworks (enemies explode on death), Piercing (shots pass through) |
| New Weapon | Adds a secondary auto-weapon that fires alongside your main | Orbiting Daggers, Homing Missiles |
| Passive | Character-wide buff not tied to weapons | Magnet (pulls items), Thorns (reflects damage) |
Upgrades have rarity tiers: Common (white), Uncommon (green), Rare (blue), Epic (purple), Legendary (orange). Higher rarity offers stronger effects but appears less frequently. You can have multiple upgrades of the same type — they stack multiplicatively in most cases.
Upgrade choice strategy
Always pick upgrades that synergize with your character's weapon. A Gun Man benefits more from fire rate and projectile count than from melee damage. If no synergy option appears, pick a stat boost — they're always useful.
Best Charms & Items
Charms are the most impactful upgrades because they fundamentally change how your weapon behaves. Here are the strongest charms in the game:
| Charm | Rarity | Effect | Best With |
|---|---|---|---|
| Fireworks | Uncommon | Enemies explode into bullets when killed | Any high-damage character |
| Piercing | Rare | Projectiles pass through multiple enemies | Gun Man, Fire Mage |
| Multishot | Rare | Fires +1 projectile per attack (slight damage penalty) | Gun Man, Lightning Monk |
| Homing | Epic | Projectiles curve toward nearest enemy | Any projectile weapon |
| Chain Reaction | Epic | Kills have a chance to chain lightning to nearby enemies | Fast-firing weapons |
| Vampiric | Legendary | Deal damage to heal health | Berserker, Blade Dancer |
| Overclock | Legendary | Massive fire rate boost with minor damage reduction | Any character |
| Orbiting Shield | Rare | Adds orbiting projectiles that block enemy shots | All characters (survival) |
Essential passive items
- Magnet — Pulls all drops toward you. Absolutely essential in late waves when you can't stop to collect.
- Blood Pact — Converts excess health into bonus damage. Great for high-health builds.
- Second Wind — Once per run, revive at 50% health on death. A safety net for deep runs.
- Lucky Coin — Increases gold and chest quality. More upgrades per run.
Meta Builds & Combos
These are the strongest confirmed builds for each playstyle. Builds are formed by combining specific charms and stat upgrades during a run.
Build 1: Bullet Hell Gun Man (S-Tier)
Core charms: Multishot + Piercing + Fireworks + Overclock
Stats: Max Fire Rate, Damage, Projectile Speed
How it works: Multishot gives you 3+ bullets per shot, Piercing makes them pass through entire enemy lines, Fireworks turns every kill into more bullets, and Overclock pushes fire rate to absurd levels. The screen fills with your projectiles and enemy explosions. Best arena: Any open map.
Build 2: Blade Storm Dancer (S-Tier)
Core charms: Area Size + Spin Speed + Vampiric + Thorns
Stats: Move Speed, Area Damage, Max Health
How it works: Enlarge Blade Dancer's spinning aura to cover half the screen, increase spin speed for more damage ticks, and add Vampiric for constant healing. You become a mobile death zone that heals as it kills. Best arena: The Keep (tight corridors).
Build 3: Inferno Mage (A-Tier)
Core charms: Burn Duration + Explosion Radius + Chain Reaction + Homing
Stats: Spell Power, Burn Damage, Cooldown Reduction
How it works: Every fireball leaves a long-lasting burn zone, explosions spread fire to nearby enemies, and Chain Reaction adds lightning bounces. The entire arena becomes a burning kill floor. Best arena: The Hive (narrow tunnels).
Build 4: Immortal Berserker (A-Tier)
Core charms: Vampiric + Life Steal + Second Wind + Blood Pact
Stats: Max Health, Life Steal, Damage
How it works: Stack life steal to the point where you heal faster than enemies can damage you. Blood Pact converts your huge health pool into bonus damage. Second Wind provides a panic revive. Best arena: The Throne (no cover needed).
Build flexibility
You won't always get the exact charms you want. These builds are targets — adapt based on what the game offers. A partial build with good stats often beats a perfect build taken too late.
Pro Tips & Common Mistakes
Pro Tips
- Piercing + Multishot is the strongest early combo
- Always take Magnet if it appears (game-changing QoL)
- Stack same-type charms for exponential power
- Legendary charms are worth skipping a wave for
- Balance damage and survival — pure damage gets you killed
Avoid These Mistakes
- Taking melee upgrades on a ranged character
- Ignoring Magnet (you'll miss drops and die)
- Over-investing in one stat at the expense of others
- Picking a new weapon that doesn't synergize
- Forgetting that rarity matters — a Rare charm beats two Commons
Character Guide
Which base weapon pairs best with each build.
Character Tier List
See which characters benefit most from these builds.
// TOWN CRIER — FAQ
Do upgrades stack?
Can I reroll upgrade choices?
What's the single best charm?
// DESCEND FURTHER
Master the next system and survive even deeper into the dungeon.