Arenas & Maps
Six survival arenas breakdown: layouts, hazards, enemy spawn patterns and the best routes to survive every map.
Arena Overview
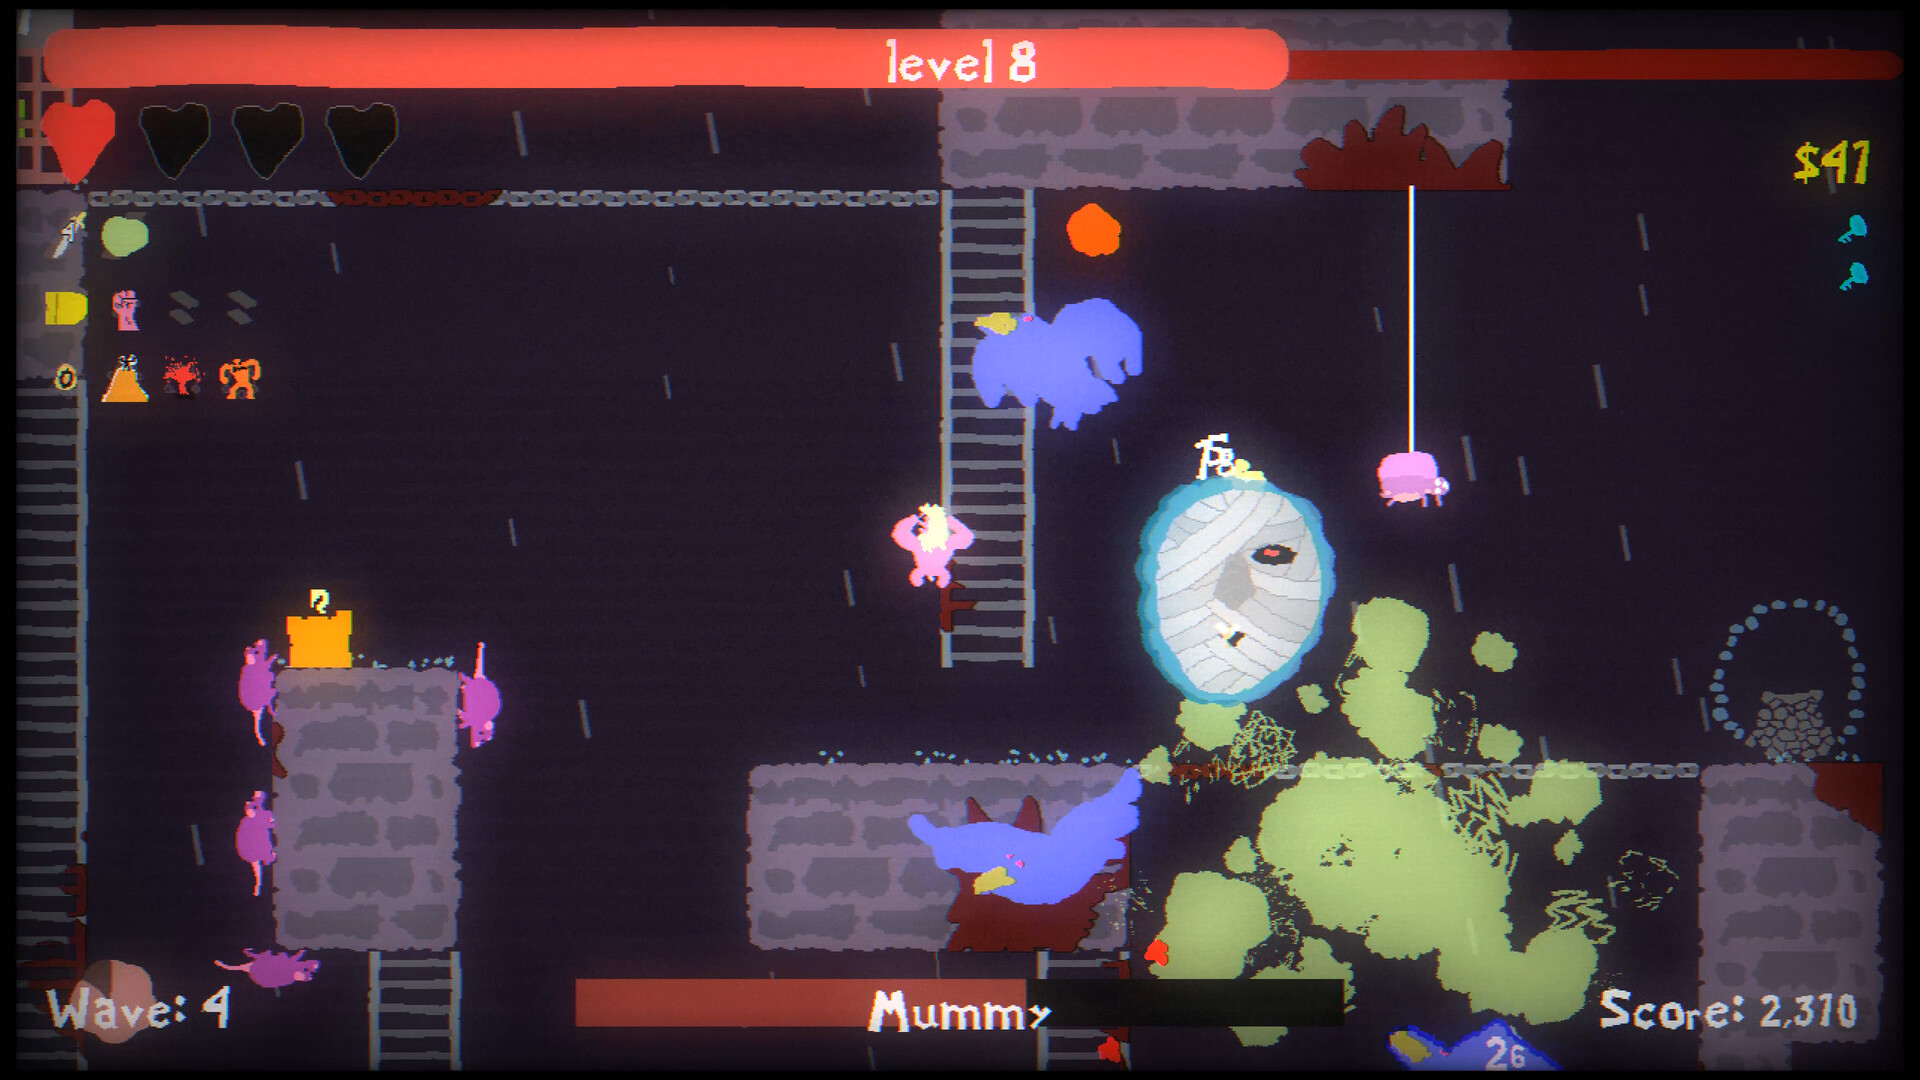
Each arena in Blood Dungeon is a self-contained survival map. You cannot leave the arena boundaries — your only goal is to survive as many waves as possible. Arenas differ in layout, verticality, hazards and enemy spawn points, making each one require a different strategy.
| Arena | Layout Style | Key Feature | Best Character Type | Difficulty |
|---|---|---|---|---|
| The Sewers | Open + platforms | Good vertical escape routes | Any (great for beginners) | Easy |
| The Keep | Multi-level fortress | Tight corridors, chokepoints | Fire Mage, Berserker | Medium |
| The Abyss | Deep vertical shaft | Long falls, wall climbing | Blade Dancer, Gun Man | Medium |
| The Foundry | Industrial with hazards | Lava pools, moving platforms | Shadow Runner, Ice Warden | Hard |
| The Hive | Organic tunnels | Narrow passages, many spawns | Plague Doctor, Fire Mage | Hard |
| The Throne | Grand open hall | Boss-only arena, minimal cover | Gun Man, Blade Dancer | Very Hard |
Arena Breakdowns
The Sewers (Starter Arena)
The default arena and the best place to learn. Features a wide open ground floor with two elevated platforms on either side, connected by ladders. No environmental hazards. Enemy spawns are predictable — mostly from the ground and sides.
Strategy: Use the central ground for kiting in circles. When overwhelmed, climb a ladder to the upper platform and let enemies bunch below, then drop back down. This arena favors any character but is especially forgiving for ranged types.
The Keep
A multi-level stone fortress with three floors connected by ladders and narrow staircases. The tight corridors create natural chokepoints where area damage shines. Enemies spawn from doorways on all three levels.
Strategy: Pick a floor and defend the stairwells. Fire Mage's splash damage and Berserker's cleave excel here. Avoid getting pinned in a corner — always keep a ladder within reach.
The Abyss
A deep vertical shaft with platforms spiraling downward. Falling from high platforms costs health, and wall-climbing is essential for navigation. Enemies spawn from above and below simultaneously.
Strategy: Stick to mid-level platforms where you can see threats from both directions. Characters with good vertical mobility (double jump, dash) have a big advantage. Never stop moving — the vertical spawns make camping dangerous.
The Foundry
An industrial arena with lava pools on the ground floor and moving platforms overhead. Lava deals continuous damage, and moving platforms can dump you into danger if you're not careful.
Strategy: Stay on the upper platforms as much as possible. Use the moving platforms to reposition. Ice Warden's freeze can temporarily neutralize ground threats, while Shadow Runner's vanish helps cross dangerous gaps.
The Hive
An organic, tunnel-like arena with narrow passages and many small rooms. Enemies spawn from wall cavities and can appear behind you without warning. The tight spaces make area control crucial.
Strategy: Keep moving through tunnels rather than holding a room. Plague Doctor's poison clouds and Fire Mage's burn damage are devastating in enclosed spaces. Always check behind you — spawns are unpredictable.
The Throne
A large, mostly open grand hall with minimal cover. This is the game's hardest arena, featuring tougher enemy variants and more frequent boss spawns. The open space leaves nowhere to hide.
Strategy: Constant circular kiting is essential. Gun Man's reliable damage and Blade Dancer's mobility perform best here. You'll need strong Bone Shop upgrades to survive long — this is an endgame arena.
Best Routes & Camping Spots
Each arena has positions that offer a tactical advantage. Learning these spots can add several waves to your runs:
- The Sewers: The upper-left platform gives you a clear view of the entire arena and only one access point (the ladder). Great for ranged characters.
- The Keep: The middle floor central room has two stairwell entrances — defend them with area damage and you can hold indefinitely.
- The Abyss: The widest mid-level platform lets you move horizontally while enemies funnel up/down from narrow paths.
- The Foundry: The top-left stationary platform is safe from lava and only reachable by one moving platform — enemies struggle to path there.
- The Hive: The largest central chamber gives you room to maneuver; avoid dead-end tunnels where you can get trapped.
- The Throne: No truly safe spot. The pillars on the sides can break line of sight briefly, but you must keep moving.
Camping warning
No spot is permanently safe. Enemy spawns adapt to your position, and late-wave bosses can attack from anywhere. Use camping spots as brief rest points, not permanent positions.
Pro Tips & Common Mistakes
Pro Tips
- Learn each arena's spawn points — they're fixed
- Match your character to the arena layout
- Use wave breaks to reposition to your preferred spot
- In vertical arenas, always know which way is "up"
- Practice The Sewers until you can consistently reach Wave 15
Avoid These Mistakes
- Trying The Throne before upgrading in the Bone Shop
- Getting trapped in dead-end tunnels in The Hive
- Ignoring lava in The Foundry (it kills fast)
- Using a melee character in wide-open arenas
- Forgetting that falling damage exists in The Abyss
Enemy & Boss Guide
Learn every enemy type and boss pattern across all arenas.
Best Characters per Arena
Which fighter excels in each map layout.
// TOWN CRIER — FAQ
How do I unlock new arenas?
Which arena is best for farming bones?
Do enemies differ by arena?
// DESCEND FURTHER
Master the next system and survive even deeper into the dungeon.